
Here is the procedure of AutoLink AL619EU ABS/SRS system diagnostic testing.
Step 1. Turn the ignition on but do not start the engine.
Step 2. Turn on the scan tool and wait for the Main Screen to appear.
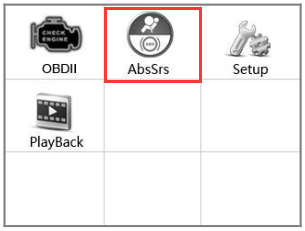
Step 3. Select AbsSrs icon in the Main Screen.
Step 4. Select a specific vehicle manufacture’s regional coverage.

Step 5. From the vehicle make screen, select a specific vehicle manufacture and press OK button.
Note: There are two ways for users to perform diagnostic testing system either automatically or manually:
1. Auto Start New Session
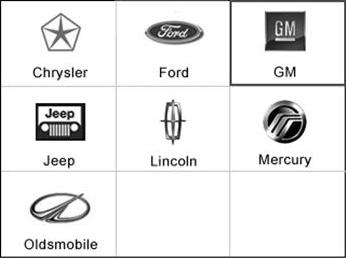
To finish this procedure, please follow these steps (Taking GM as an example):
1) Select the GM Logo from the car make screen.
![]()
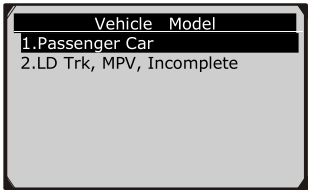
2) Use the UP/DOWN scroll button to select the correct Model Year(s) from the menu as shown below:

3) From Vehicle Model menu choose the specific vehicle type.
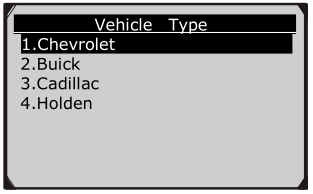
4) Select the specific vehicle brand from the Vehicle Type menu.
5) Follow screen entries to select the correct engine model.
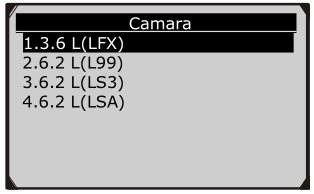
NOTE: You may not need to make all the selections, or have to select other features. For some vehicles, the tool will not ask for any information before turning to the Function menu.
6) Use the UP/DOWN scroll button to select the desired control module from the retrieved engine data menu ( in GM’s case,the selected engine model: 3.6 L(LFX)), and press the OK button.
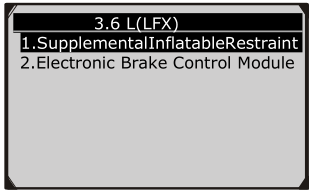
7) To review the Diagnostic Trouble Codes (DTC) or Module ID Information saved in the Supplemental Inflatable Restraint or Electronic Brake Control Module system, use the UP/DOWN scroll button to select the desired item. Then press OK button to continue.
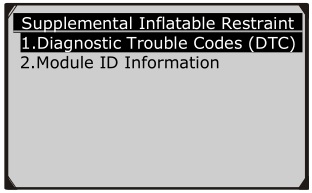
8) Wait a few seconds while the Scan Tool establishes communication with the vehicle to retrieve the selected DTCs or Module ID Information.
2. Manual Vehicle Entry
Manual Vehicle Entry allows users to input and save specific vehicle information (i.e. Vehicle Calibration Number, Tear Tag, or PCM Part Number) manually. This function enables direct access to the vehicle’s ABS/SRS system and makes the diagnostic testing more convenient, saving time doing step-by-step entry selections.
To finish this procedure, please follow these steps (Taking Ford as an example):
1) Select the Ford Logo from the car make screen.
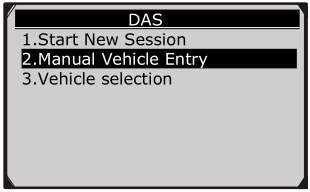
![]()
2) Use the UP/DOWN scroll button to select the Manual Vehicle Entry option from the DAS menu.
3) To enable scan tool to identify the vehicle specifications, follow the onscreen instructions to the Option menu, and select one of the three entries: PCM Part Number, Calibration Number or Tear Tag to fill up the vehicle information.

4) Taking the Tear Tag option for example, you will need to fill up accurate vehicle information in the input entry on the menu screen.
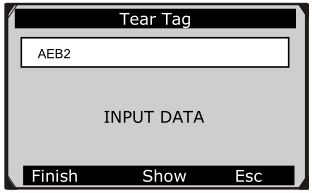
5) Follow the onscreen instruction to save the information and continue on the procedure, or select the No option or press ESC button to exit without saving.
6) Choose a specific car series from the Vehicle Specification menu.
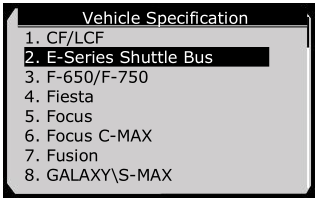
7) A screen message will prompt up to inquire the accuracy of the Vehicle Specification, if the information is correct select the Yes option to continue, otherwise select the No option on the screen to exit without saving.
8) Enter correct Vehicle Identification Number (VIN) in the INPUT DATA menu.

[ Finish ]: After entering a new value, use this key to save the value to the VIN.
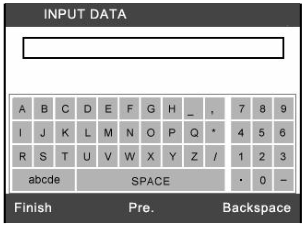
[ Show ]: Press this key to pop up a soft keyboard to facilitate your input.
[ Esc ]: Press this key to exit.
The three keyboard function keys work as below.
[ Finish ]: When you finished the input, select this key to confirm your input and exit.
[ Pre. ]: Moves a space to the left.
[ Backspace ]: Uses this key to erase the previous digit or character when typing.
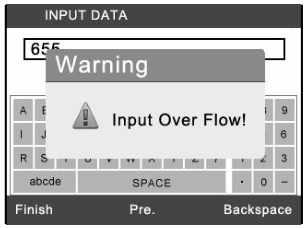
NOTE: The data you input must be in the reasonable range, which is defined by the preset values in VIN. If you enter a data out of range, the tool will display a warning message.
9) Follow screen instruction to save vehicle information in the Input Dialog Box and Vehicle Specification sections by selecting Yes option, or No option to exit without saving.

10) Select a desired item for information on the option menu screen.
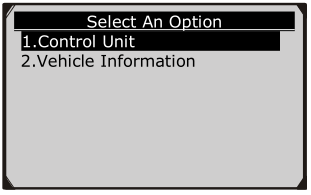
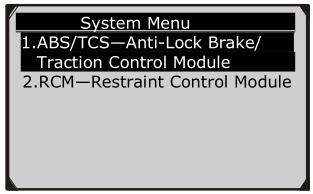
11) Select the Control Unit entry to enter the System Menu option screen, and choose the desired Control Module entry for DTC information stored in the vehicle’s on-board computer.
If there is not any Diagnostic Trouble Code, the display indicates “No (pending) codes are stored in the module!” Wait a few seconds or press any key to return to previous screen.
NOTE: In this manner, the scan tool will communicate with the vehicle being tested. If there is a linking error, please refer to 3.8 Product Troubleshooting in the Autel AutoLink AL619EU User Manual.
NOTE: If the vehicle does not support ABS/SRS communication, an advisory message shows on the Scan
Tool’s display. Follow the screen instruction to exit the system.
Autel al619eu for sale: http://www.obd2shop.co.uk/wholesale/original-autel-autolink-al619eu.html