
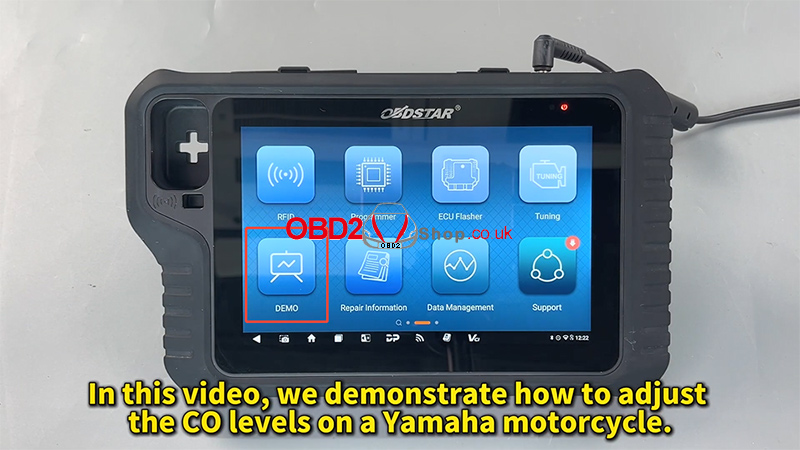
Proper CO adjustment helps maintain engine performance and emission standards. Follow these steps to complete the adjustment using your OBDSTAR MOTOMASTER.
Tools Required:
OBDSTAR MOTOMASTER tablet
Step-by-Step Procedure
1. Initial System Entry
Power on your device and tap [DEMO] (or enter via the live diagnostic menu).
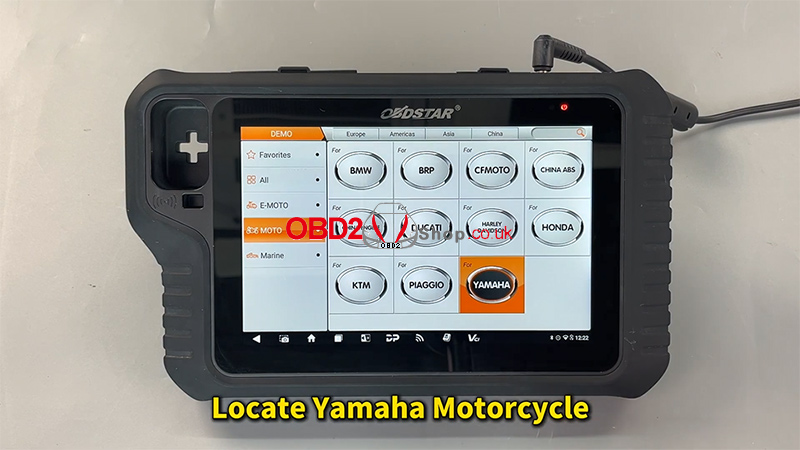
Locate and select Yamaha from the list of manufacturers.
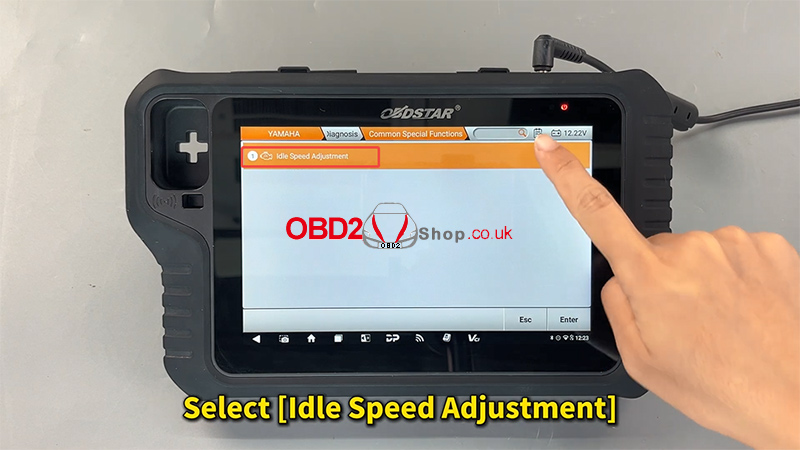
Select [Common Special Functions].
Select [Idle Speed Adjustment].
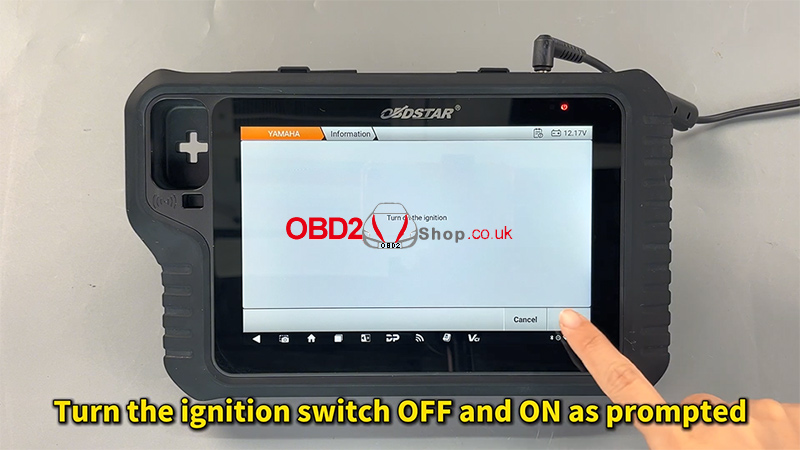
2. ECU Activation
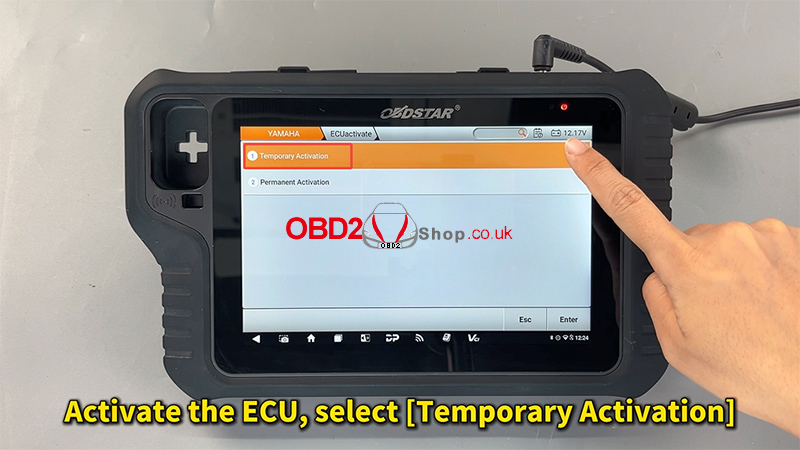
Follow the on-screen prompts to turn the ignition switch OFF and then back ON.
To activate the ECU, select [Temporary Activation].
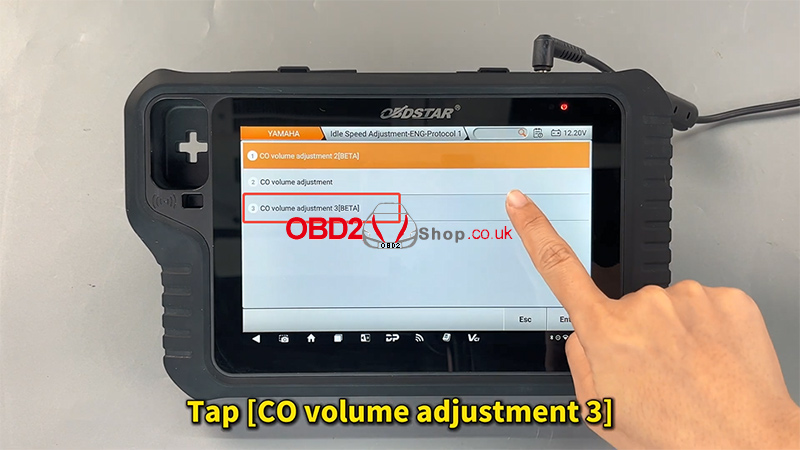
From the function list, tap [CO volume adjustment 3].
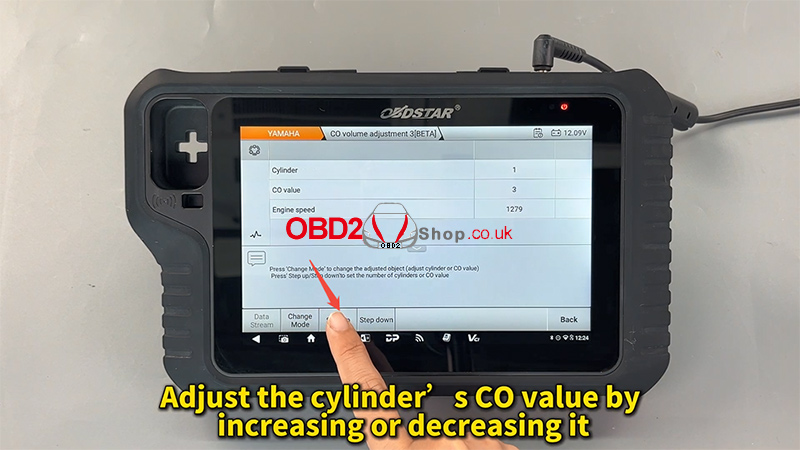
3. Adjusting the CO Values
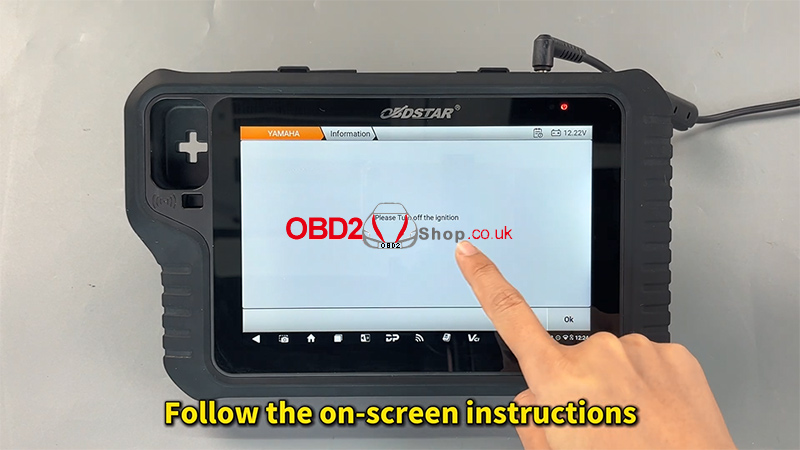
Carefully read and follow the on-screen safety instructions.
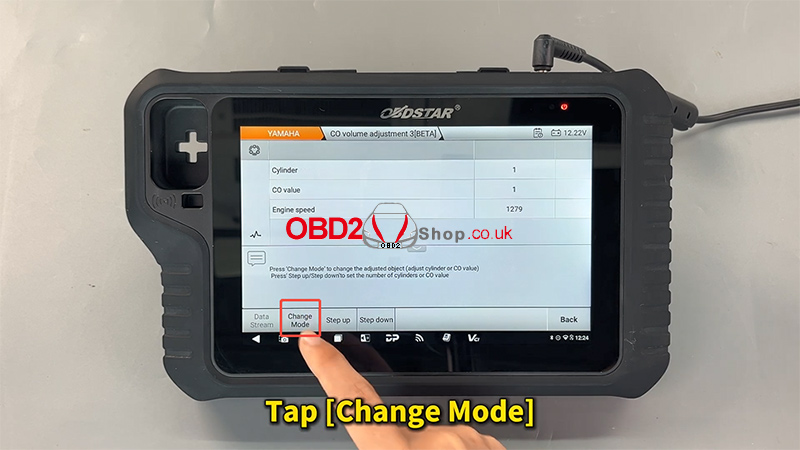
Tap [Change Mode] to enable the adjustment interface.
Select the specific cylinder and adjust the CO value by [Step ON] or [Step down] the levels as required by the engine specifications.
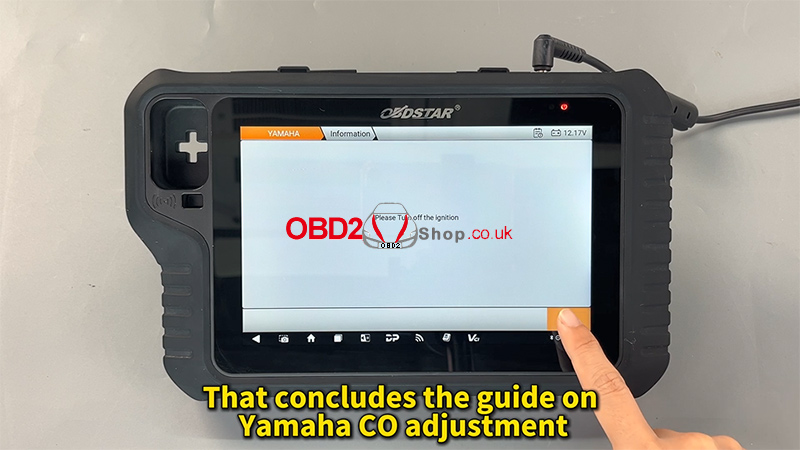
4. Completion
Once the desired levels are set, tap [Back] to save the settings and exit the function.
The system will confirm that the Yamaha CO adjustment is concluded.
Additional Resources
For a detailed visual demonstration, you can view the video guides at:
Support: www.obd2shop.co.uk