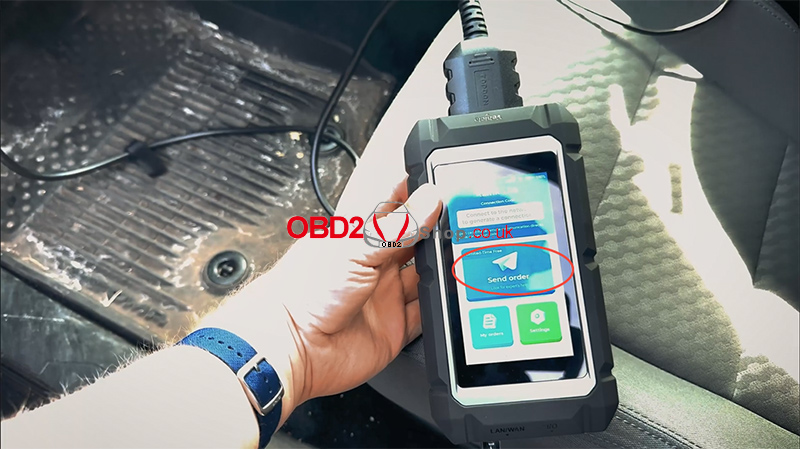
This guide explains the basic setup requirements for using the TOPDON RLink Lite for remote programming services.
Basic Requirements
Before starting, prepare the following:
1. A programming power supply, such as TOPDON T120A or T90000
2. RLink Lite connected to an Ethernet port on your router or network switch
3. RLink Lite connected securely to the vehicle’s OBD2 port
Step 1: Set Up the Programming Power Supply
Connect the programming power supply cables directly to the vehicle battery.
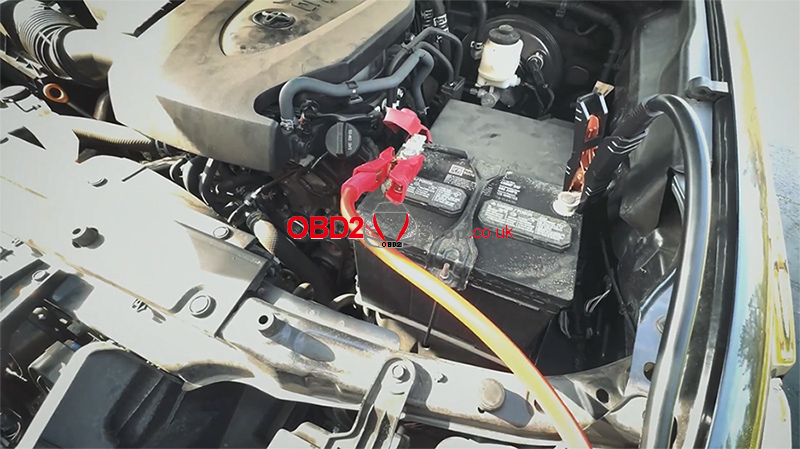
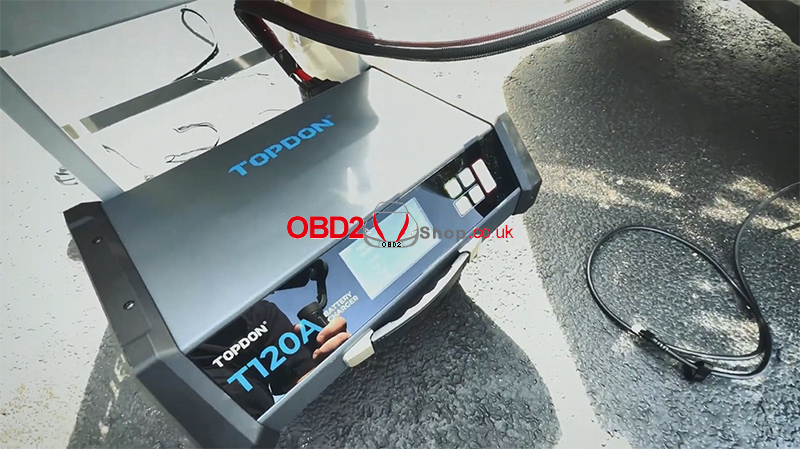
A programming power supply, such as the T120A or T90000, is required during vehicle programming.
Before programming, consult the vehicle manufacturer’s service information and TSBs for the recommended voltage and current settings.
Set the T120A or T90000 to Supply Mode, then adjust the voltage and current according to the manufacturer’s specifications.
If no specific settings are provided, use:
Voltage: 13.6V
Maximum Current: 120A
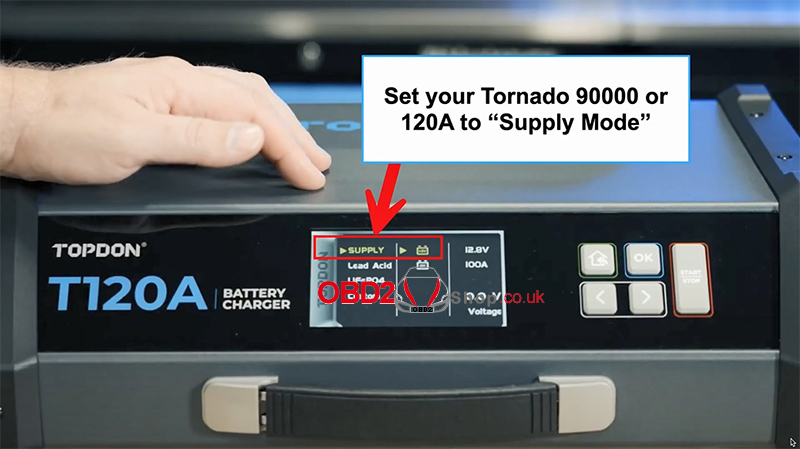
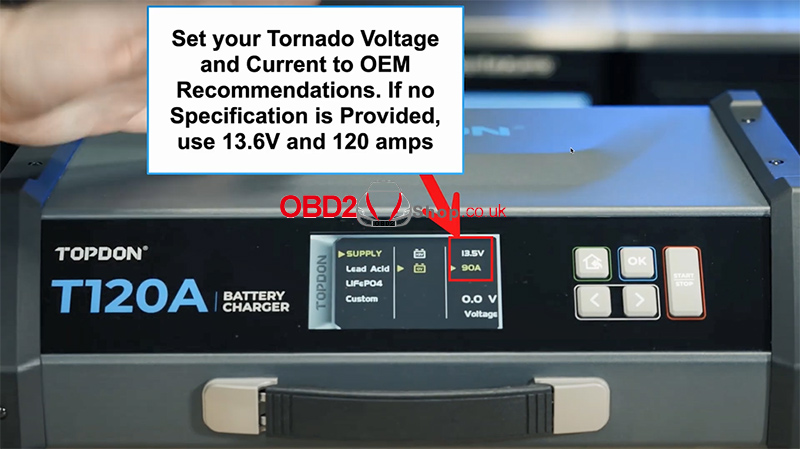
Start the power supply and keep it running throughout the programming process and any key-on, engine-off operations.
Step 2: Connect RLink Lite
Connect the RLink Lite directly to an Ethernet switch or router using an Ethernet cable.
Then connect the RLink Lite to the vehicle’s OBD2 port securely.
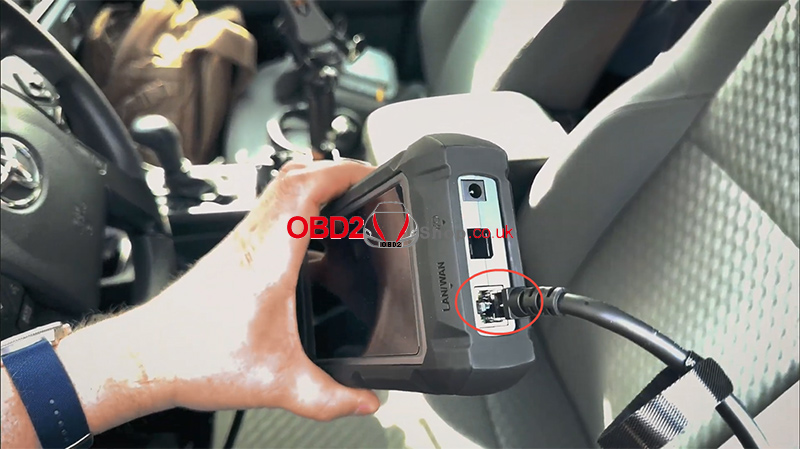
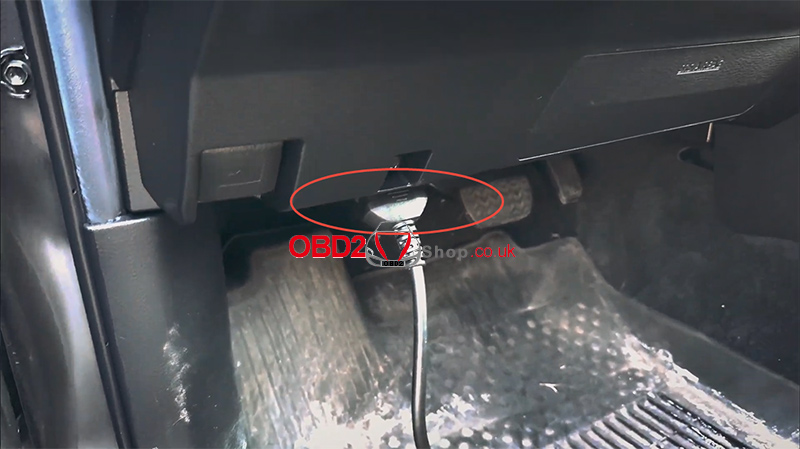
Make sure the RLink Lite has a stable Ethernet connection and a secure OBD2 connection before submitting the remote service order.
Once both connections are properly established, the vehicle is ready for the remote programming service.