
The self-test function of Xtool D9 Pro can determine whether the device is in good condition before diagnosing. This article will guide you step by step on how to do the self-test for the Xtool D9 Pro device.
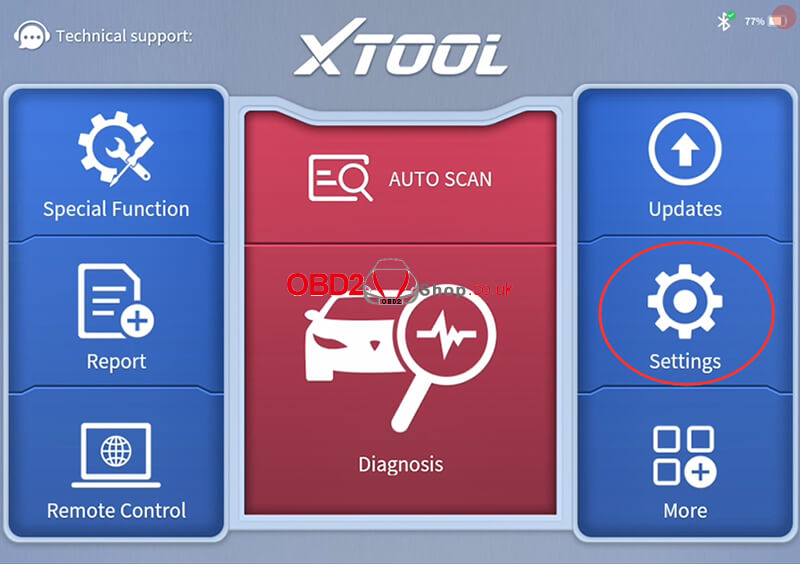
Step 1. Select “Setting” on the device diagnostic system interface.
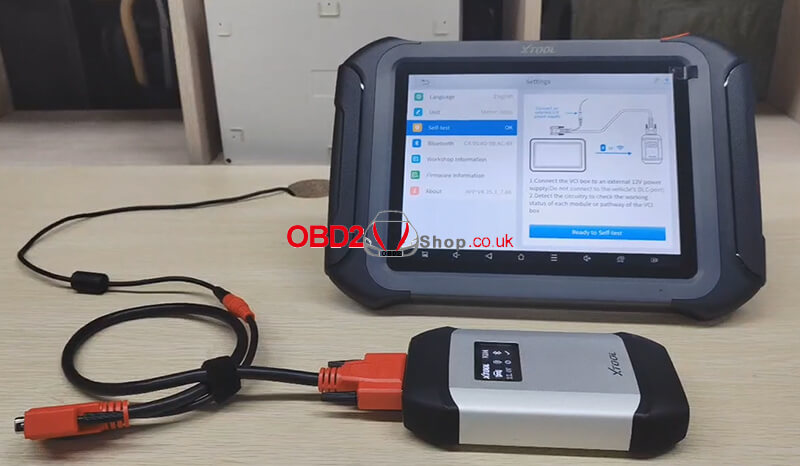
Step 2. Select “Self-test”, and follow the instructions to connect the VCI box and D9 PRO tablet:
① Connect the VCI box to an external 12V power supply (Do not connect to the vehicle’s DLC port, otherwise it may cause serious damage or failure of the car).
② Detect the circuitry to check the working status of each module or pathway of the VCI box.
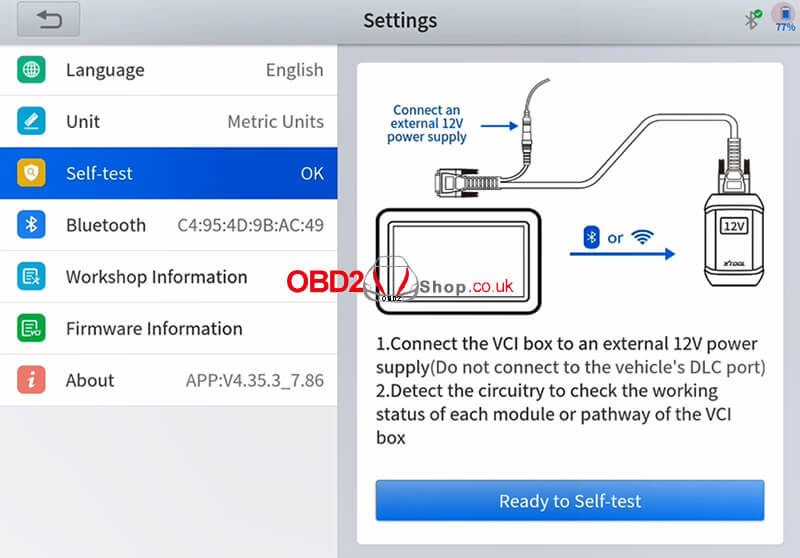
Step 3. When everything is ready, click “Ready to self-test”.

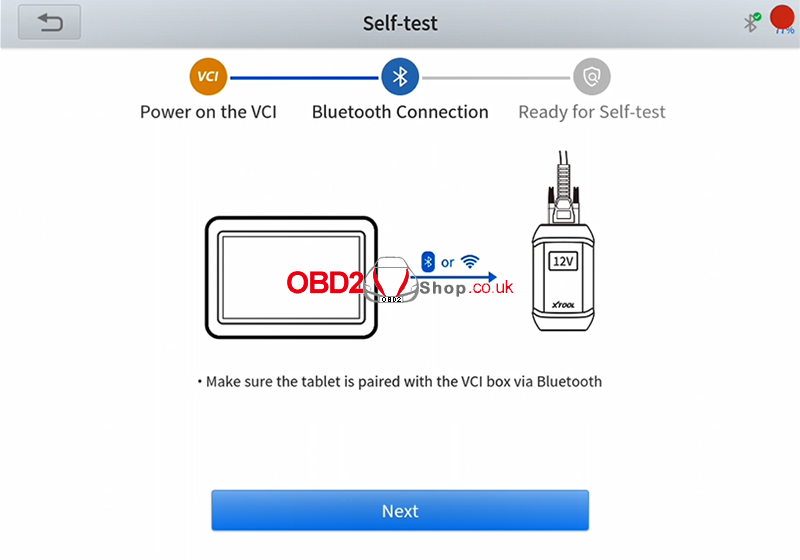

Step 4. The self-test procedure checks the communication status of each line and displays it in the list as shown below.
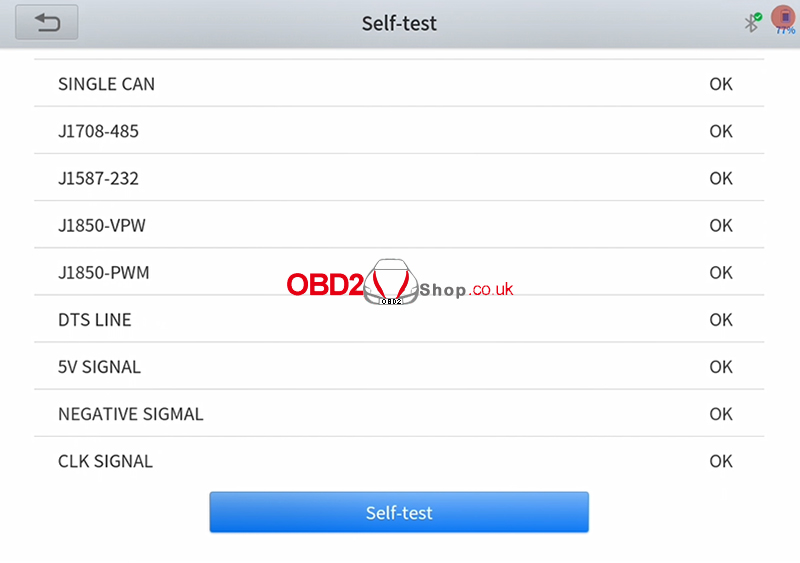
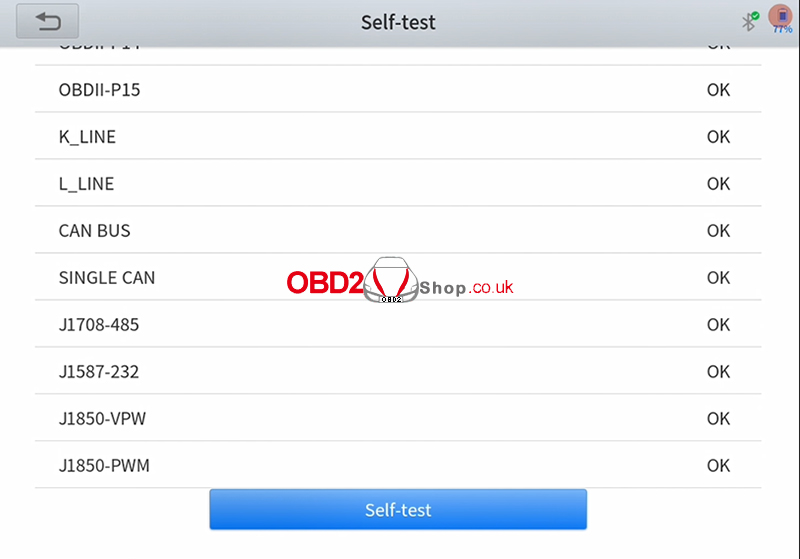
Note: If the communication status of a certain line is NG, it may affect the models based on those lines. If the self-test fails, please do not diagnose the car with the faulty line.
Technical support:
www.obd2shop.co.uk