
Hi, welcome to obd2shop.co.uk official blog, today we’d like to Share with you
How to Update MB SD Compact C4 Multiplexer Step By Step
The kernel update of the SDconnect is similar to a regular software update via the Star Diagnosis system.
Device we need:
![mb-sd-connect-compact4-star-diagnois-new-a[1]](http://blog.obd2shop.co.uk/wp-content/uploads/2015/08/mb-sd-connect-compact4-star-diagnois-new-a1.jpg)
Step 1. Check battery if needed (only if related message is shown in the display)
When working on the vehicle or using an external power supply, the message “Batteries cannot be charged” may sometimes appear on the SDconnect display.
Kindly Notice: The batteries had better be brand new to make sure of sufficient electricity.
Closing the Xentry Diagnostics/ Xentry DAS diagnostics application
When accessing a vehicle in Xentry Diagnostics or Xentry DAS, the following message appears

Exit the diagnostic application Xentry Diagnostics or Xentry DAS correctly to go on.
Step 2. Connecting the SDconnect to the Star Diagnosis system with the green cable
The SDconnect will be automatically selected and appear in the
![]()
Step 3. SDnetControl
Start SDnetControl by clicking the deskband
Go to the “Connections” tab.
Check whether automatic selection via the cable connection is active
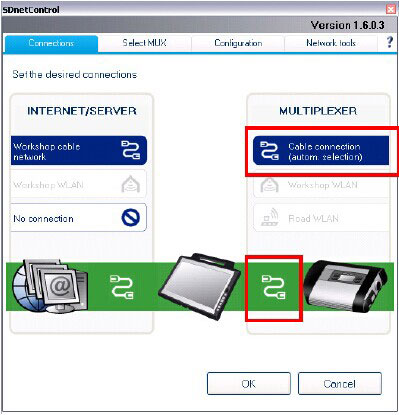
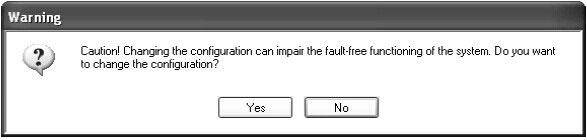
Go to the “Configuration” tab, and confirm the warning with “Yes”
Step 4. Software update
Go to the “MUX” tab in SDnetControl.
Click on the “Software update” button.
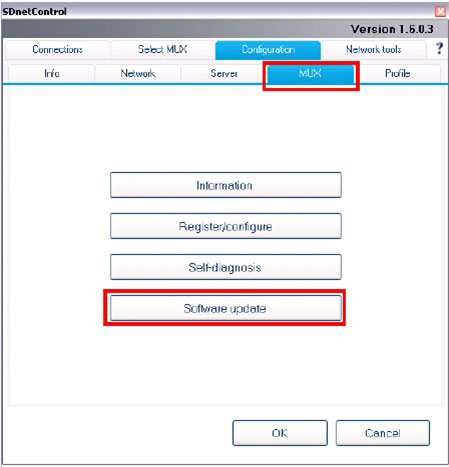
The “SDconnect Toolkit Administration” program will start.
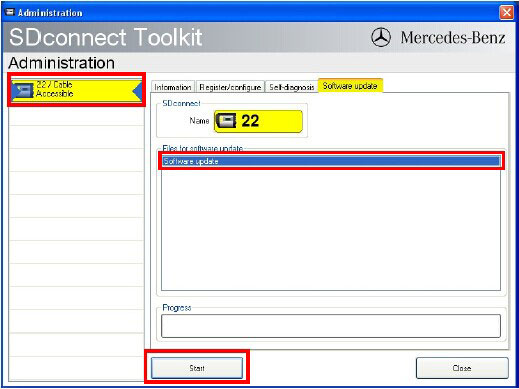
Go to the “Software update” tab in the SDconnect Toolkit.
Your SDconnect is already selected on the left-hand side.
Select the “Software update” packet under “Files for software update”.
Click “Start” to start the process.
The update process will start. This takes approx. 4 minutes.
Step 5. Completing the installation
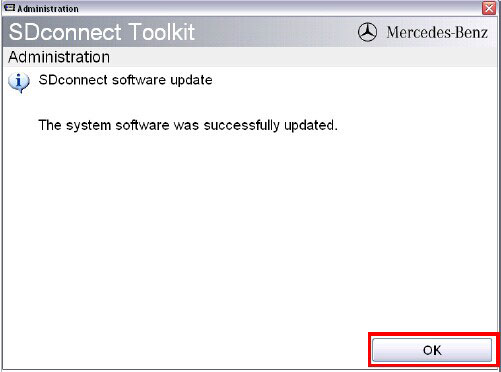
Confirm the successful completion of the update.
After a successful update, a message indicating the successful update completion appears.
Confirm the message by clicking “OK”.
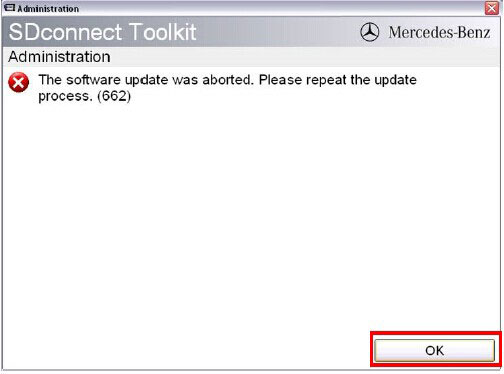
Update not successful
If the update was not successful, the message “The software update was aborted. Please repeat the update process” will appear.
Confirm this message by clicking “OK”. Check the SDconnect batteries if necessary and repeat the update process.
Go to the “Information” tab in SDconnect Toolkit
Select your SDconnect on the left-hand side.
Check the information under “Software versions” at the right:
The versions of the Linux OS and the CommandServer must be at least 2:0:xxxxxx.

The kernel update of the MB SD connect c4 is complete. The green cable can be removed.
That’s all for the steps, hope it would help you 🙂
Warmly welcome to www.obd2shop.co.uk