
Keeping your diagnostic scanner up to date ensures the latest vehicle coverage, bug fixes, and improved performance. This guide explains two methods to upgrade your OBDEMOTO 900PRO Key Programmer software: via SD Card and via WiFi.
Method 1: Upgrade via SD Card
1. Obtain the corresponding upgrade file according to the serial number of the diagnostic scanner, and save it to your local PC.
2. Unzip the upgrade package to a new folder.
3. Connect the computer through an SD card with an SD card reader, click My Computer, find the U disk (SD card), and click Enter.
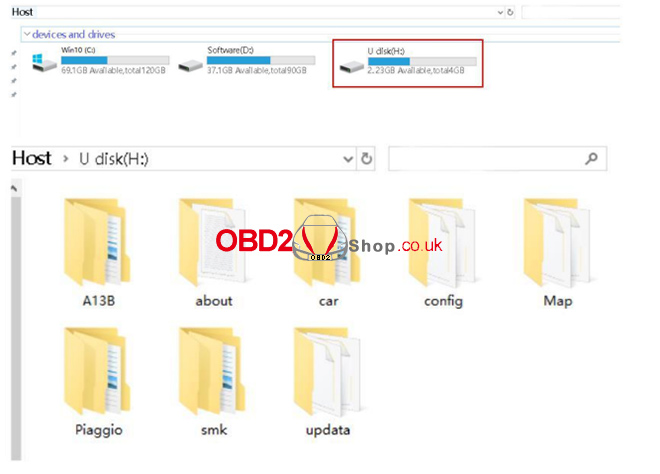
4. Copy the contents of the unzipped folder to the U disk (SD card).
5. Insert the SD card back into the diagnostic scanner and power on.
6. The following screen will be displayed after the diagnostic scanner is started:
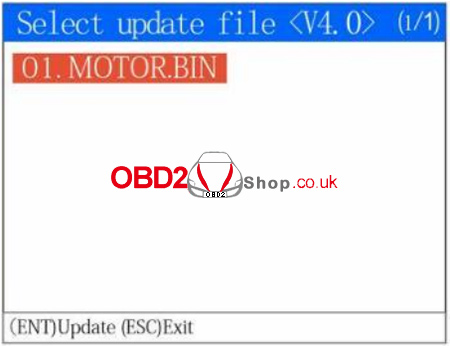
Press the OK button to start the upgrade process:
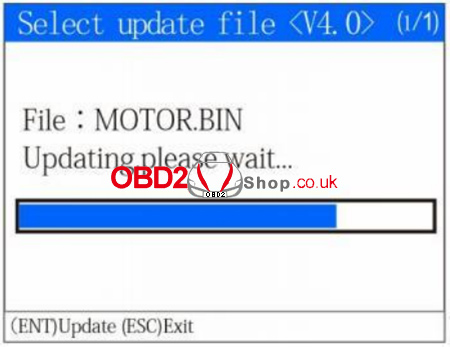
Once the upgrade process is complete, the diagnostic scanner will start normally. If the upgrade process failed, repeat the preceding steps.
Note:
1. The format of the SD card used by the diagnostic scanner is FAT32. Please pay attention when formatting the SD card; the diagnostic scanner will not work normally.
2. Only when the serial number of the diagnostic scanner is the same as the serial number of the software can it be upgraded. If the serial numbers of the diagnostic scanner and the software are different, the software will not work normally or be able to upgrade the diagnostic scanner.
Method 2: Upgrade via WiFi
1. The diagnostic scanner is connected to the external power supply. After the diagnostic scanner is powered on, click the “One-click Upgrade” icon on the home screen.
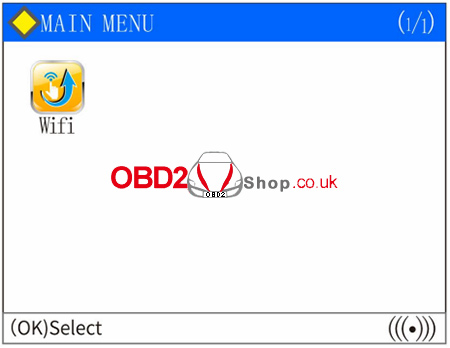
2. Enter the one-click upgrade page.
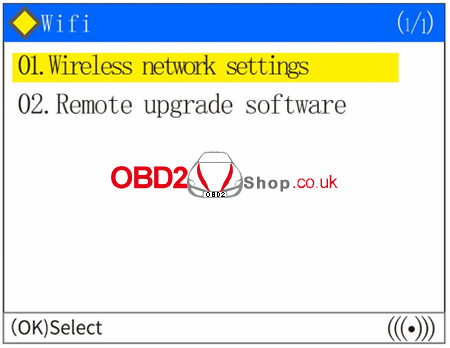
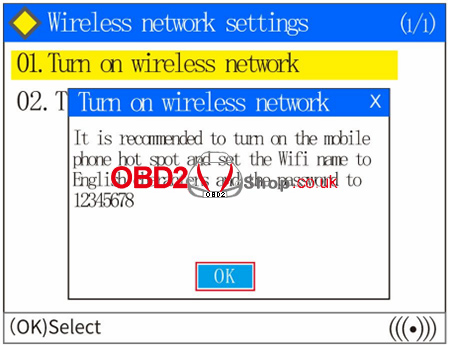
3. Select “Wireless Network Settings” to enter, and select the “Turn On Wireless Network” option. Select “OK” to enter.
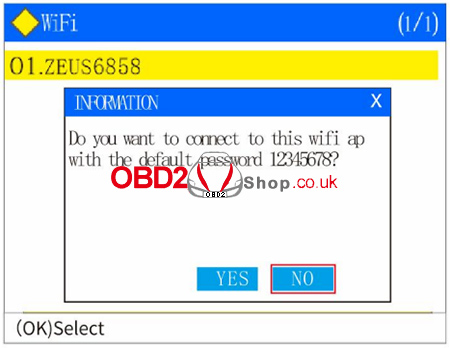
4. After finding your network option, you can select “Yes”, but you need to change the connection password through the hotspot on your personal phone to use the default password [shortcut for WiFi link]; If you select “No”, you will need to enter the WIFI connection password by selecting “No”.
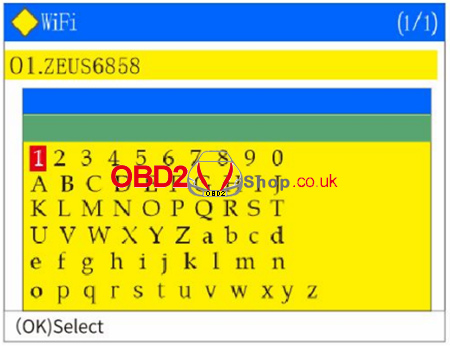
5. Press up “▲”, down “▼”, left “◄” and right “►” arrow button to select the alphabet character and Arabic numerals corresponding to your WIFI password. The F1 button is for confirming the selection. Enter the complete password and press the “OK” button. The diagnostic scanner will indicate that the connection is successful.
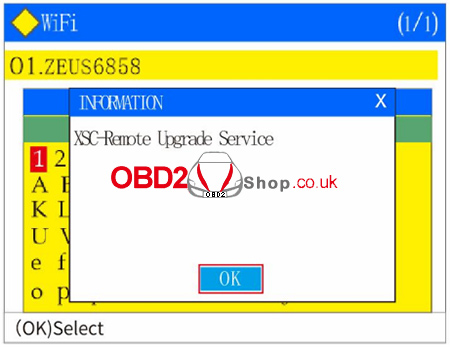
6. After the diagnostic scanner prompts that the network connection is successful, it will enter the “Xinsicheng – Remote Upgrade Service System”. After the WIFI connection is successful, select “OK”.
7. The one-click upgrade page is displayed. To upgrade the software, select “Remote Upgrade Software”. Press the return button to exit if you do not need to upgrade the software.

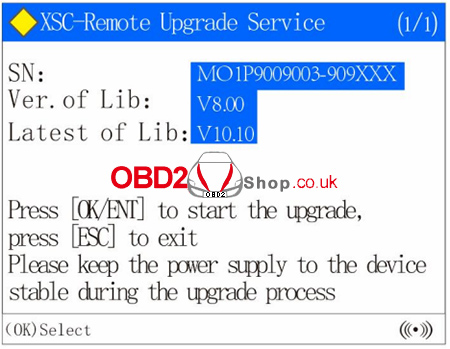
8. If you select “Remote Upgrade Software”, the diagnostic scanner will display the machine serial number, current software version, and latest software version, and press “OK” to start the upgrade process.
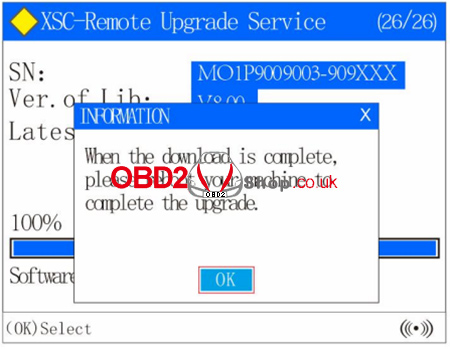
9. Wait for the download process display bar reaches 100%, and the diagnostic scanner will prompt you that the download process is complete. Select “OK” to restart the diagnostic scanner to update the software [power off/then power on again].
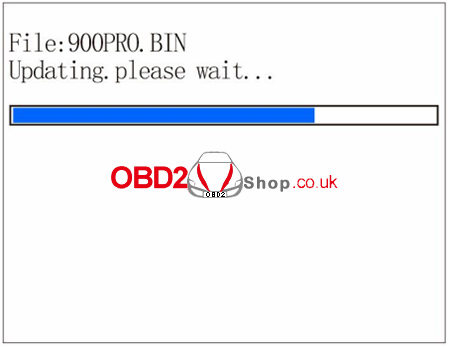
10. Wait for the display bar to finish, and the software update is complete.
If there is any doubt about the use of the diagnostic scanner, please contact www.obd2shop.co.uk.