
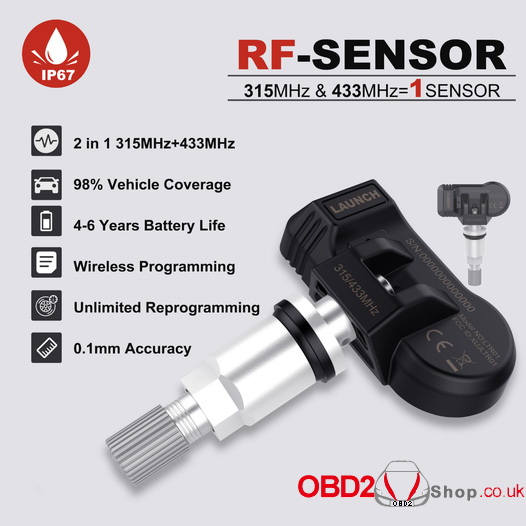
This is a quick guide on how to install Launch LTR-01 RF Sensors to the tire.
Installation Steps
- Loosening the tire
Remove the valve cap and nut, deflate the tire. Use the bead loosener to break the tire bead.
Caution: the bead loosener must be facing the valve.
- Dismounting the tire
Clamp the tire on the tire changer, and adjust the valve at 1 o’clock to the tire fitting head. Use the tire tool to dismount the tire bead.
Caution: always observe this starting point during the whole dismounting process.
- Dismounting the sensor
Remove the cap and nut from the valve stem. And then remove the sensor assembly from the wheel rim.
- Mounting the sensor and valve
- Remove the cap and nut from the valve stem.
- Place the valve stem through the valve hole of the rim. Ensuring the LTR-01 RF Sensorbody located on the inside of the rim. Assemble the nut back on the valve stem with a torque of 4N m, then tighten the cap.
Caution: make sure that the nut and cap are installed on the outside of the rim.

Completed!
Now you can go on to use TPMS tool X-431 TSGUN Pro to program the sensors.
It may help:
How Launch X-431 TSGUN Diagnose & Program TPMS Sensors?
http://blog.obd2shop.co.uk/how-launch-x-431-tsgun-diagnose-program-tpms-sensors/
How to install LTR-01 RF Sensor to Chevrolet Tire with Launch TSGUN
Technical support: www.obd2shop.co.uk