
")

")
Replacing the LCD screen of the Keydiy KD-X2 requires patience, careful handling, and the right tools. Follow this step-by-step guide to safely disassemble the device and install a new display.
Tools & Materials Needed:
Precision screwdriver set
Anti-static wristband
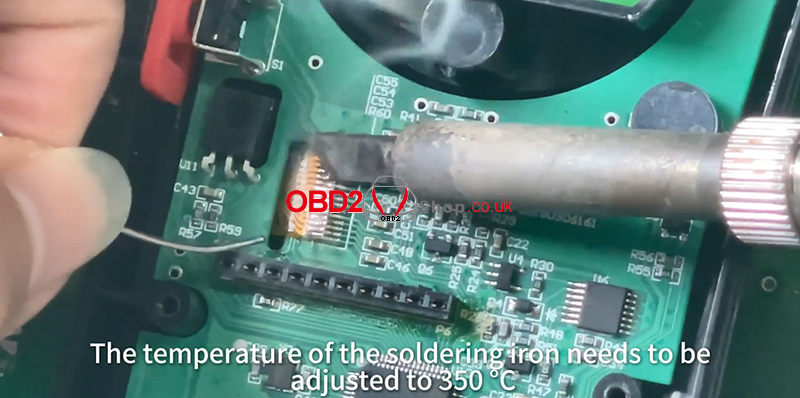
Electric soldering iron (set to 350℃)
Hot air gun (set to 300℃)
Board cleaning solution (board washing water)
Tweezers
New KD-X2 LCD
Full operation video:
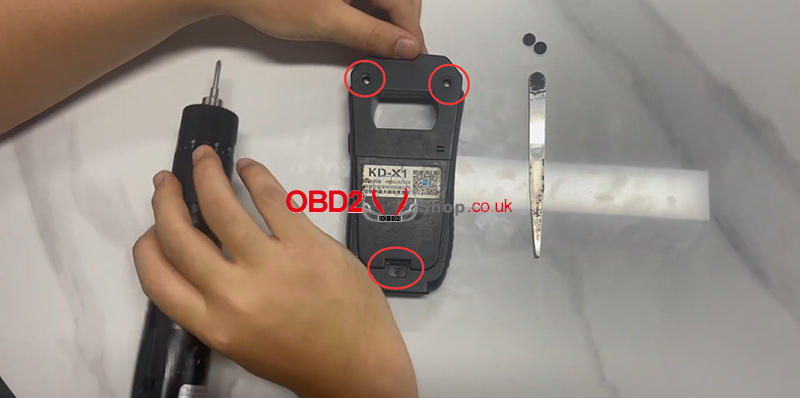
Step 1: Remove the Back Cover
Remove the two rubber pads on the back of the device.
Unscrew the two screws hidden inside.
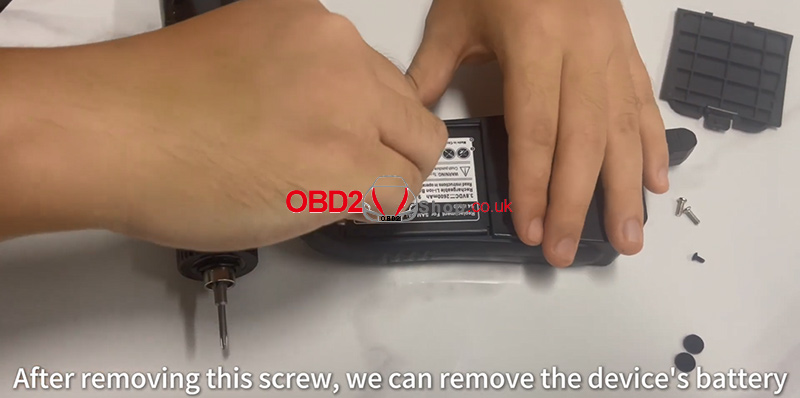
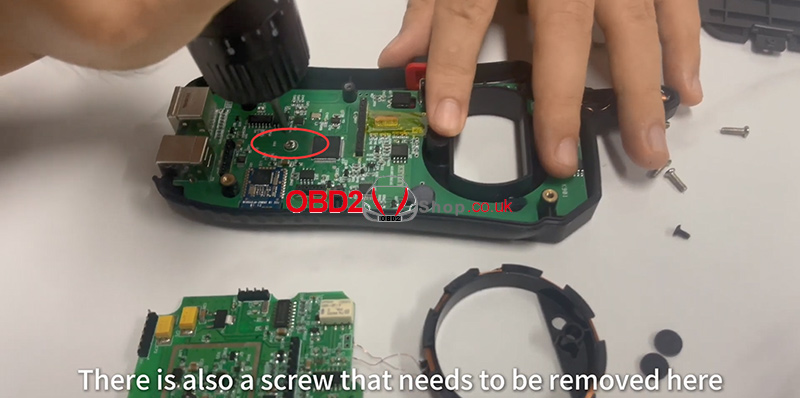
Remove one additional screw located on the back.
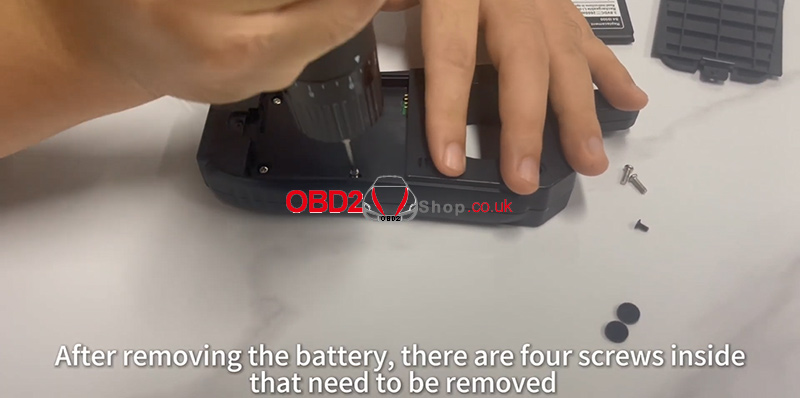
Take out the battery to expose the inner screws.
Remove the four screws inside to release the shell.
Note: Before touching the mainboard, always wear an anti-static wristband to avoid damaging components.
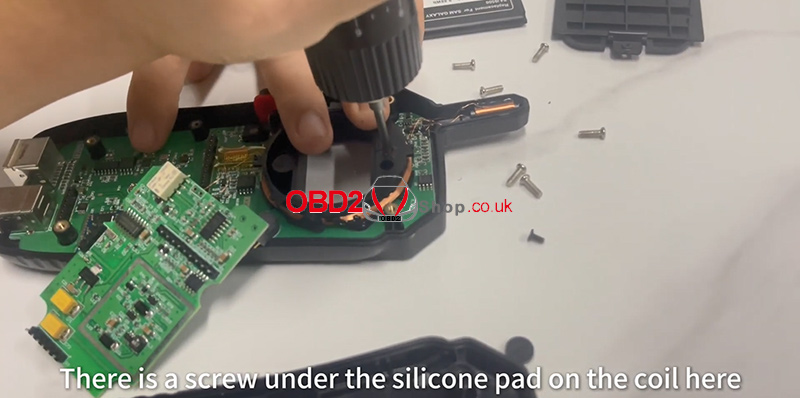
Step 2: Disassemble the Mainboard
Under the silicone pad near the coil, remove the hidden screw.
Disconnect the three ribbon cables.
Press the bottom mainboard to remove the small PCB board and coil together.
Remove one more screw that secures the mainboard.
Carefully take out the mainboard.
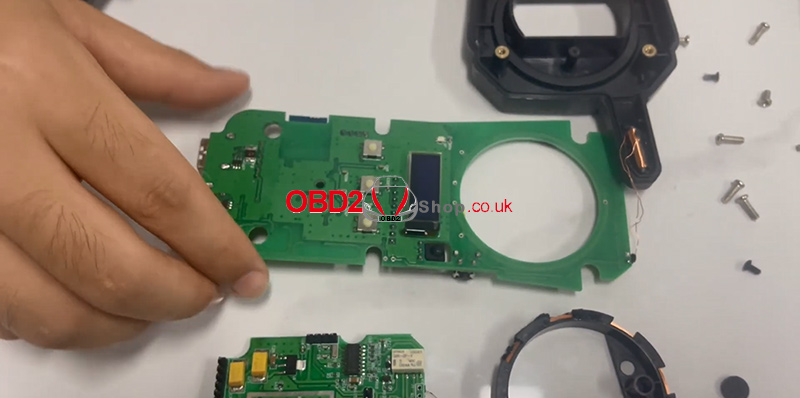
Step 3: Remove the Old Display
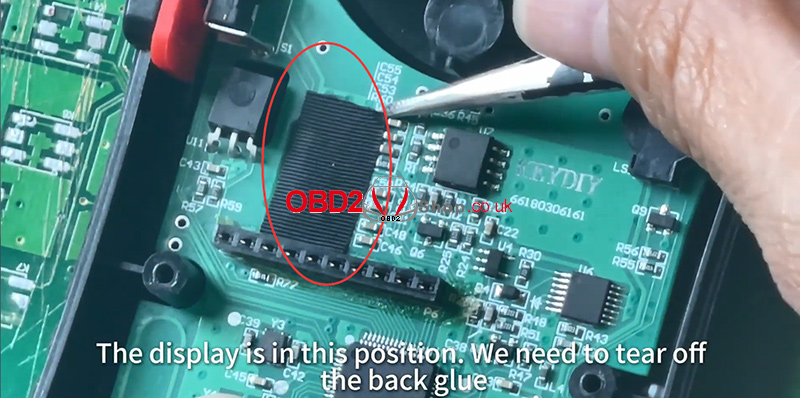
Locate the display on the mainboard.
Peel off the back adhesive of the display.
Use a soldering iron (350℃) to detach the display ribbon cable from the solder pad.
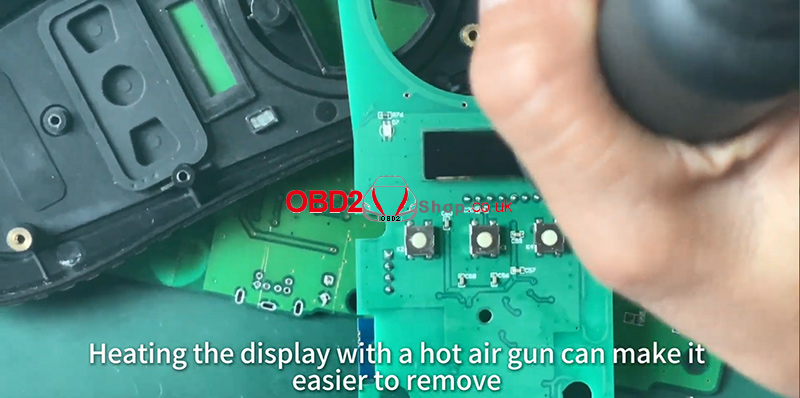
Flip the mainboard and heat the display with a hot air gun at 300℃ to soften the adhesive.
Gently lift the display from the mainboard.

Step 4: Install the New Display
Peel off the double-sided adhesive on the back of the new display.
Align and stick the display to the printed display position on the mainboard.
Do not exceed the border of the display frame.
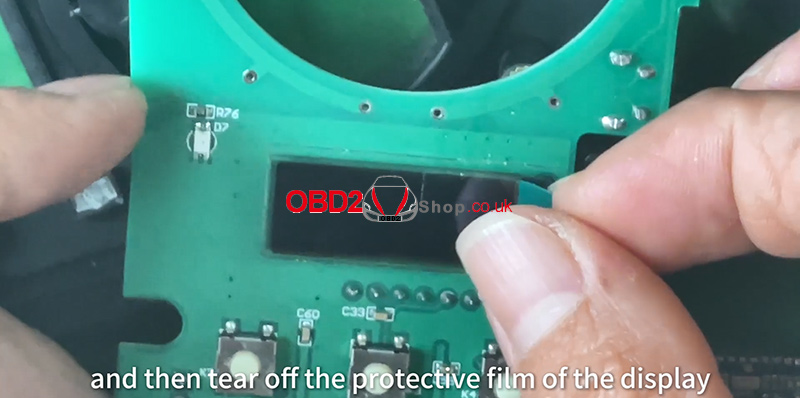
Remove the protective film from the new display.
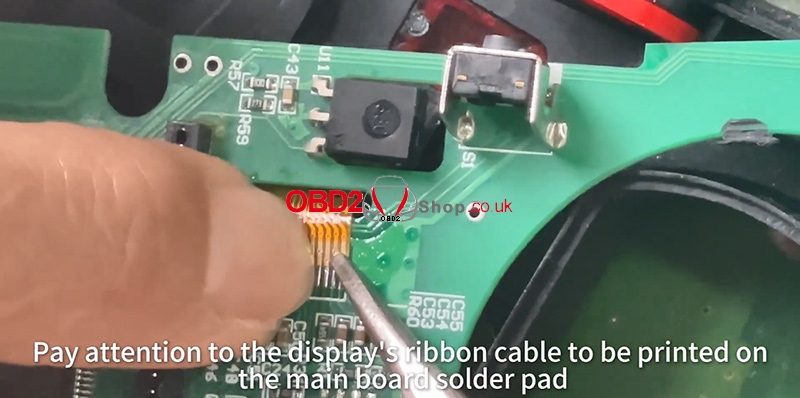
Align the ribbon cable with the solder pad.
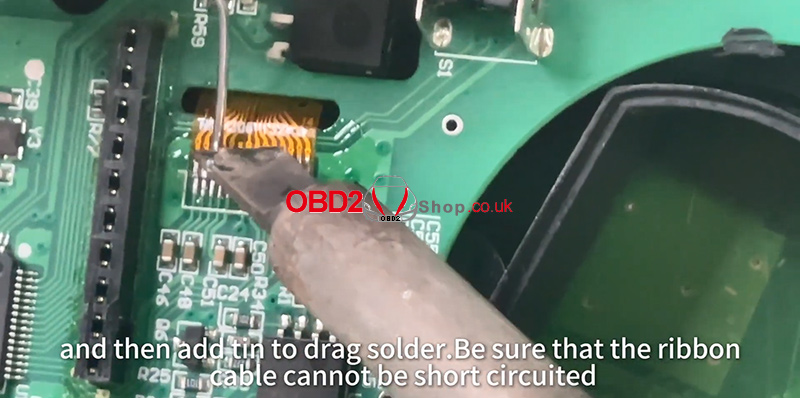
Use a soldering iron to fix the ribbon cable in place, then apply tin to perform drag soldering.
Ensure there are no short circuits.
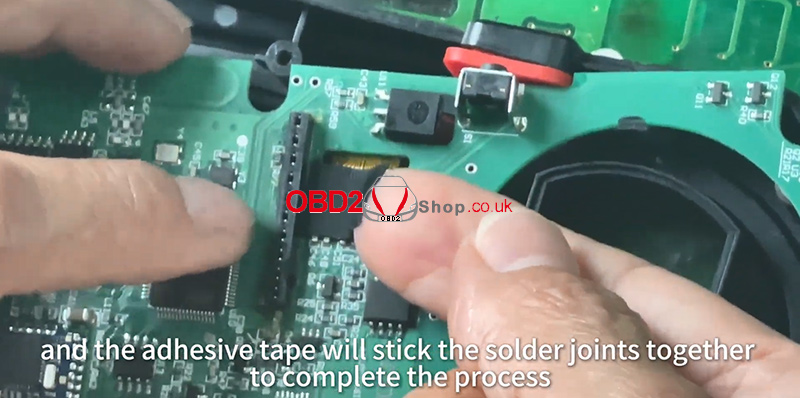
Step 5: Finishing Up
Clean the solder joints with board washing water.
Use adhesive tape to secure the soldered area.
Reassemble the device in reverse order of disassembly.
Your KD-X2 now has a brand-new LCD installed.