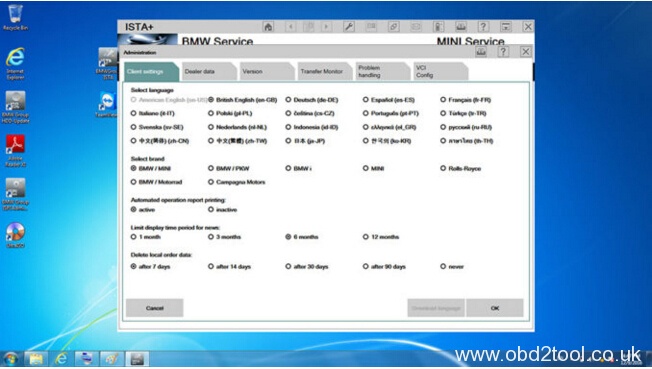
This beginner’s guide was created considering the number of questions that have been coming up recently whether related to installation, configuration and/or usage. The guide attempts to answer fundamental questions on what the tool is for, what can you do with it and how to configure it so that you can connect to the car and run diagnostics on all cars and in case of F/G/i/Mini/RR cars, programming.
The information in the guide is based primarily on publicly available knowledge and experiences that have been consolidated into a single dynamic document that can be used to get going with ISTA+.
This document is not definitive and will never be. It is to get the reader to a position where they are comfortable with utilizing the features and functions of the tool. As things change in the program or based on feedback, updated versions might be posted.
The following caveats apply:
- Installation of BMW ISTA+discussed in the document is limited to sources obtained from the Rheingold/ISTA-D thread in this forum only.
- If you got it from somewhere else, you’re on your own. You will probably get help but without knowing where it was obtained, it is hard to tell how to install or configure.
Try to ask questions in this thread so that other folks who are just starting out will know what issues can pop up and how to deal with them. Over the next few days, a few frequently used procedures will be posted. As with everything else, I’m no expert in ISTA+ but I’m confident many other forum members will contribute to the learning’s in this thread.
Finally, while acknowledging the many people who shared their knowledge, big thanks to the following individuals for their support in creation, sources and the dialog behind it:
- Almaretto
- Pshoey
- Shawn Sheridan
- ruben_17non
- aboulfad
Programming with ISTA+
NOTE: Programming with ISTA+ is only possible with an ICOM and a 70+ amp rated Power Supply. DO NOT ATTEMPT TO PROGRAM WITH ISTA+ WITHOUT THESE TWO ITEMS!
NOTE: Programming with ISTA+ is only possible with an ICOM and a 70+ amp rated Power Supply. DO NOT ATTEMPT TO PROGRAM WITH ISTA+ WITHOUT THESE TWO ITEMS!
- Programming can be accessed via the “Vehicle management” / “Software update” menu.
- The planned actions are initially produced in the measures plan. The measures plan determined after the vehicle test can be done directly in the “Comfort” tab, or added to manually beforehand in the “Advanced” tab, then calculated and executed.
- The car can be programmed to the latest I level using the comfort software update without any further actions based on the measures plan which has already been determined.
- It is not possible to select additional actions manually in this menu.
Initializations and follow-up operations that might be required are automatically added during the measures plan calculation.
All other modes of programming and pre/post requirements are discussed in detail in the Help Document located at ~\Rheingold\Help folder.
- Software update
- Comfort – as per the suggested measures plan
- Advanced – with broadened scope
- Additional software (range of functions is not active yet)
- Control unit replacement
- Before exchange (preparation) – control unit read-out for the exchange
- After exchange (subsequent evaluation) – control unit configuration after exchange
- Vehicle modification
- Retrofit
- Conversion
- Conversion (only coding)
- Backfitting
- Immediate measures
FAQ: Evaluate SOC and Battery Registration with ISTA+
Checking your State of Charge and Battery Registration with ISTA+
Connect to the car using your preferred cable.
- Do a vehicle test
- After a vehicle test, go to Vehicle Management –> Service functions tab.
- Next select Body, then Voltage Supply
- Then select Battery
Here you will be presented with 2 options:
- Option 1 is to test SOC. Choose Evaluate Battery State of Charge OR
- Option 2 – Register Battery Replacement
- Then click on at the bottom right. The ABL/FUB/REP and/or SSP will be populated. Select the FUB or REP to learn more OR select the ABL and run it.
NOTE: If changing battery types, coding is required before you can register battery replacement.
FAQ: Steering Angle Sensor Adjustment
Steering Angle Sensor Adjustments:
- Go to Vehicle Management–> Service Functions
- Select Chassis and Suspension
- Select Steering Angle Sensor
- Select Steering Angle Sensor Adjustment
- Then click on at the bottom right. The ABL/FUB/REP and/or SSP will be
- populated. Select the FUB or REP to learn more OR select the ABL and run it.


